I stumbled onto
Bakingblonde's Weblog when Bob over at
Cooking Stuff tagged me. (Bob, I'll try to get tagging!)
Anyway... Her
Chewy Ginger Cookies with Cinnamon Chips recipe was at the top of the first page. I had recently been experimenting with cinnamon chips with marginal results at best, so I checked out her
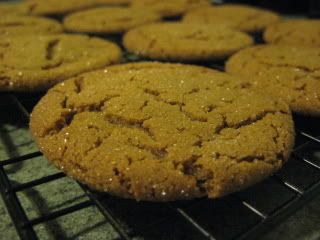
Ginger Cookies recipe.
My husband doesn't care for any kind of spice cookie. But since I don't really care for chocolate... I really wanted to give these a try! (my turn!) I am SO glad I did! These cookies got rave reviews from all who tried them! (my kids, the guys at the office, friends visiting over the weekend)
I'll definitely be making these cookies again!
 Ginger Cookies
from
Better Homes and Gardens (
printable recipe)
4 1/2 cups flour
4 tsp ground ginger
2 tsp baking soda
1/4 tsp salt
1 1/2 tsp ground cinnamon
1 tsp ground cloves
1 1/2 cups shortening (I used butter flavored)
2 cups sugar
2 eggs
1/2 cup molasses
3/4 cup sugar for rolling
Preheat oven to 350F
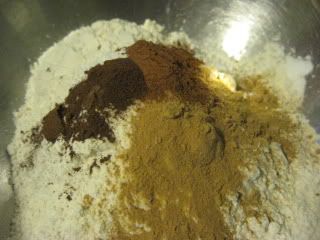
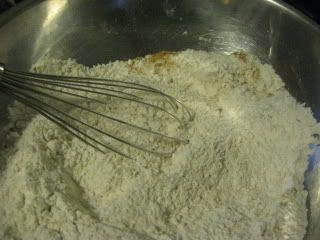
In large mixing bowl whisk together: flour, baking soda, ginger, salt, cinnamon and cloves. Set aside.
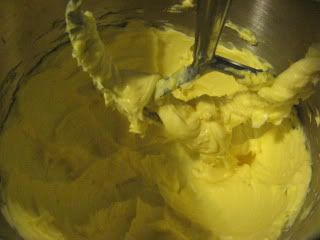
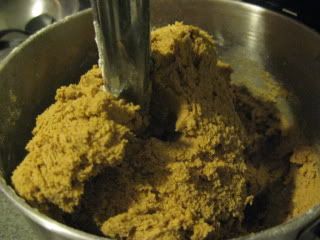
In mixing bowl beat shortening for 30 seconds. Add sugar and beat until well combined. Beat in eggs and molasses until combined, scraping sides of bowl as needed. Add as much of the flour mixture as your mixer can handle and fold in the rest by hand. (my KitchenAid handled the whole job nicely)
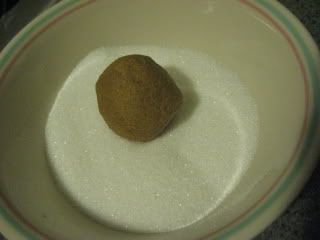
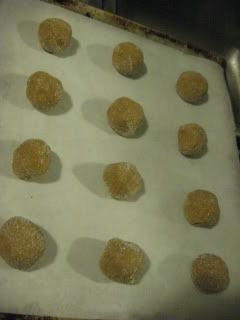
Shape dough into 2-inch balls. Roll balls in the 3/4 cup coarse or granulated sugar. Place about 2-1/2 inches apart on a parchment paper lined cookie sheet.
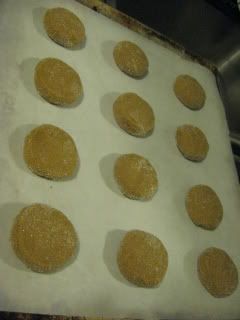
Press dough balls slightly to flatten for more even baking.
Bake for 10-12 minutes or until bottoms are LIGHLTY brown and tops are puffed. Do NOT overbake. Cool on cookie sheet for 2 minutes and finish cooling on wire rack.
~~~~~~~~~~~~~
In large mixing bowl whisk together: flour, baking soda, ginger, salt, cinnamon and cloves. Set aside.
In mixing bowl beat shortening for 30 seconds.
Add sugar and beat until well combined. Beat in eggs and molasses until combined, scraping sides of bowl as needed.
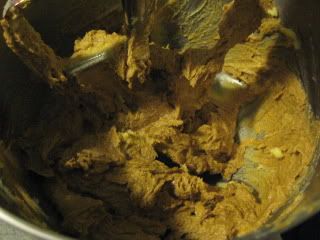
Add as much of the flour mixture as your mixer can handle and fold in the rest by hand. (my KitchenAid handled the whole job nicely)
Shape dough into 2-inch balls. Roll balls in the 3/4 cup coarse or granulated sugar.
Place about 2-1/2 inches apart on a parchment paper lined cookie sheet.
Press dough balls slightly to flatten for more even baking. (I used the bottom of a glass)
Bake for 10-12 minutes or until bottoms are LIGHLTY brown and tops are puffed. Do NOT overbake. Cool on cookie sheet for 2 minutes and finish cooling on wire rack.
Enjoy!


