Thursday, November 13, 2008

Fast Food ~ Spicy Chicken Sandwiches

Ok... maybe the slightest smidgey above fast food... since I did have to heat and assemble myself!

Jon was surprised that I'd put this in my blog... since I didn't really 'cook' it. He said there were no 'ingredients'. Of course there are ingredients! See... here's a picture of them!

Photobucket

There are lots of pre-made chicken patties out there, but I like the Tyson Spicy Chicken Patties that come in a the sleeve. Not the ones in the bag. (ok... technically the sleeve is a bag... but it's sleeve-like, the bag is not) The ones in the sleeve are much crispier or something and they just taste better.

And notice there are two different bags of chips... or chip-like snacks... Can't have Funyons without FUN right? And well... the line was going really really slow at the check out, so I ran back for Cheetos. I did however manage NOT to buy the Honey Mustard Pretzels I was also eying from the check out line. If I go to the store hungry, without Jon, I ALWAYS buy a ton of crap. Yes.. .I was hungry last night!

So anyway... this is one of my favorite WICKED fast dinners for busy nights or nights I just don't feel like cooking.

Heat up the chicken patties... I prefer to do it in the toaster oven... then I can get them extra crispy.

I put them on a hamburger bun with some mayo, a slice of cheddar and some shredded lettuce. Jon & Tawny also added some Frank's Red Hot.

Photobucket

Oh... and I had WAY more chips than in the picture!!!

Mum's Chived Macaroni & Cheese

Over the summer, my mom invited my sister and I to a morbid little dinner. She wanted to go over her 'final' arrangements. She's not old or sick, she's just a planner. She also wanted to let us know her plans for her estate and make sure we were both cool with it. She doesn't want any fighting after she's gone. Family peace is worth more to me than fighting over 'stuff', so I was cool with everything. She asked if there was anything I wanted. I'm not really sentimental about stuff... but there was one thing. I really really wanted the fish dish. It was the casserole dish she always made her Chived Macaroni and Cheese in, when I was a kid. She said, "That? You can just take it home with you!" Well... I guess I haven't made Chived Mac & Cheese since July, because last night was the first time I broke out the dish.

Here it is!
Photobucket

Photobucket

It's not much... but it's what the mac & cheese is made in! Hey... maybe I am a little sentimental... who knew??

Mum's Chived Macaroni & Cheese (printable recipe)
1 16oz package of pasta (elbows or whatever shape you like around that size)
1/2 C butter
1/4 C flour
2 C milk
1 C sour cream
salt & pepper
2C shredded sharp cheddar cheese
2 TBLS snipped chives
2 TBLS dry mustard
2 tsp Worcestershire sauce

Preheat oven to 375°F.
Cook and drain pasta according to directions on package.
In a sauce pan, combine remaining ingredients, stir frequently until slightly thickened and bubbly and all cheese is melted.
Pour pasta & sauce into casserole dish and toss to coat.
Bake at 375 for 25 - 30 minutes.

Options:
Add 1 or 2 cups of chopped ham or sausage for a heartier dish.
Add 1 or 2 cups of your favorite veggies.
Top with bread crumbs or crushed potato chips or crushed French fried onion rings before baking.

I almost always add ham... but I knew it wouldn't fit in the fish dish!

~~~~~~~~~~~~~


Here's what you need.
Photobucket

Cook the pasta according to the directions on the box.
Photobucket

In a sauce pan, combine remaining ingredients, stir frequently until slightly thickened and bubbly and all cheese is melted. (whisk the flour into the milk & sour cream)
Photobucket

Drain the pasta and toss with sauce... I usually do this in whatever I'm baking it in... but I knew there wasn't much 'tossing' room in my fish dish... so I tossed it in the pasta pot... then poured it into the fish dish.
Photobucket
Photobucket
Photobucket

Now bake it at 375F for 25 - 30 minutes (or until the top is as crunchy as you like it!)
Photobucket

Enjoy!!
Photobucket

Wednesday, November 12, 2008

Enchilada Casserole

I used to make enchilada casseroles all the time. Then I found out my husband really prefers enchiladas. So it's pretty rare for me to make them in casserole form anymore. Last week he had an old friend in town. So we invited him and a couple of other friends over for dinner.

I had planned to make chicken enchiladas with nice fresh made corn tortillas from the Mexican only Mexican market in town.

Soooo I started off by making my Smoky Mexican Chicken and Green Chili Enchilada Sauce the night before.

All you need for chicken enchiladas is tortilla, chicken, cheese & sauce... plus I was adding some spinach (gotta sneak it in where ever you can)

I microwaved the tortillas to soften them up a bit. I've never had fresh corn tortillas to work with before and these were pretty thick... but still pliable.

So I laid out my tortilla, put on some cheese, then spinach, then chicken and rolled it... well... tried to roll it. They were so thick they really didn't roll very well. I did two and decided that enchiladas were just not working out and changed my plan to Chicken Enchilada Casserole. Same ingredients... same taste... different (MUCH easier) preparation.

So I grabbed a casserole dish and spooned in enough Green Chili Enchilada Sauce to coat the bottom.
Photobucket

Then tear the corn tortillas to make a nice layer on the bottom. These were thick enough that I really only needed a single layer. But regular store bought corn tortillas are so thin, I usually double it. (you can see little bits of cheese from when they were rolled)
Photobucket

Then put in a nice even layer of Smoky Mexican Chicken.
Photobucket

Sneak in the spinach... shhhhhh don't tell!
Photobucket

A nice healthy layer of cheese.
Photobucket

Then another tortilla layer.
Photobucket

A nice sauce layer.
Photobucket

More chicken.
Photobucket

More spinach.
Photobucket

More cheese.
Photobucket

Then a final tortilla layer... more sauce... and more cheese.
Photobucket

Photobucket

Photobucket

You want to bake this at 350F until it reaches an internal temperature of 165F.

There are no 'out of the oven' pictures. I think the shots of tequila started... guitars came out... singing...
Photobucket

marriage announcements...
Photobucket

it was a fun night, but no more food pics.


Anyway.... this is a VERY versatile casserole... I like green sauce on chicken or pork... and red sauce on beef... you can top them with green onions and or black olives... add layers of rice and or refried beans... it just depends what you have on hand and what you feel like!

Green Chile Enchilada Sauce

I moved back to Boston from San Diego in Dec 99. Back then, it was pretty hard to find many of the ingredients I had taken for granted living in So Cal. So I had to find a good green sauce recipe. This is it! It can be as mild or spicy as you like by adjusting the peppers. It's great on enchiladas... but would also be a great table sauce or to make a 'wet' burrito.


Green Chili Enchilada Sauce (printable recipe)
6 to 8 Anaheim or Poblano chile peppers
1 jalapeno pepper, seeded & chopped
2 cloves garlic, coarsely chopped
1 medium onion, cut-up
2 tablespoons flour
1/2 teaspoon garlic salt
2 cups water

Roast peppers over an open flame or under a broiler until black and blistered.
Place in a paper bag and let steam for 5 minutes.
Remove from bag and gently rub off the blackened skin.
Remove top; slit open and remove membranes and seeds. You should have 1 2/3 to 2 cups of chilies.
Place chile peppers in a blender or food processor bowl with the garlic, onion, flour and garlic salt.
Cover and blend or process on low speed until smooth.
(If mixture does not blend easily, add about 1/2 cup of the 2 cups water to the blender or processor.)
Pour into a medium saucepan; add water.
Cook and stir until slightly thickened and bubbly.
Reduce heat and boil gently, uncovered, about 30 minutes, stirring occasionally, until reduced to 2 1/2 cups.


~~~~~~~~~~~~~


Ok... first you have to roast your peppers. I like to do it on the grill.
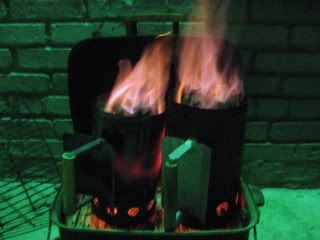
Photobucket

Get your peppers ready. I prefer poblanos, but only had a few, so I added some Anaheims.
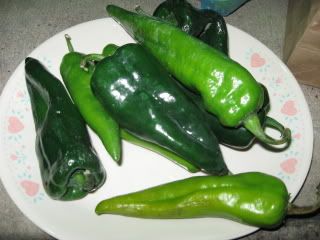
Photobucket

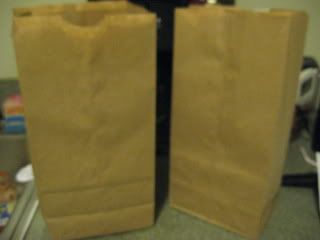
And a paper bag to put them in. I like to double the paper bag, to keep more steam inside.
Photobucket

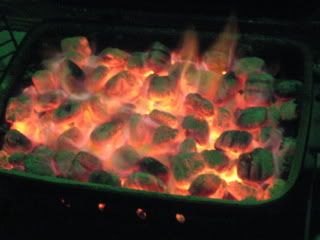
Hot & flamy! Ready to go!
Photobucket

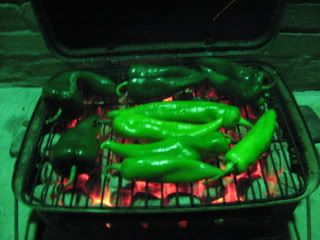
Place all of your peppers on the hot grill. (it was dark out... we weren't be invaded by aliens)
Photobucket

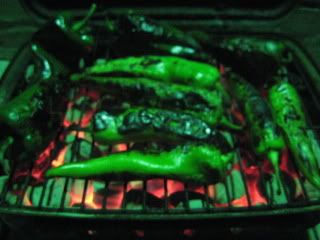
Turn them until they are blackened on all sides.
Photobucket

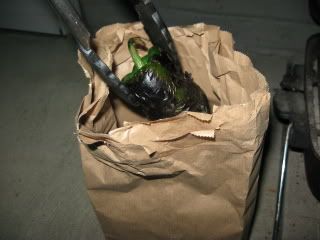
As they all get completely blackened, drop them into your paper bag and roll down the top to keep the steam inside.
Photobucket

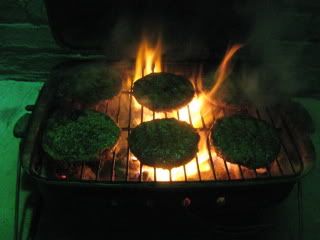
As long as the grill is already hot... throw on some burgers!
Photobucket

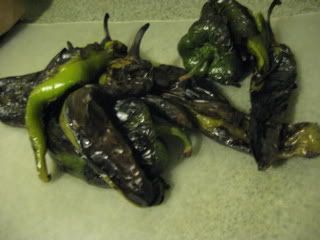
After your blackened chilies have been in the closed paper bag for at least 10 minutes, you can take them out.
Photobucket

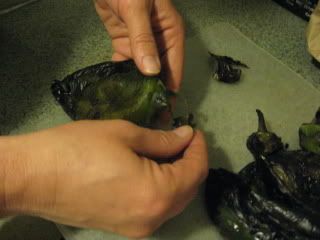
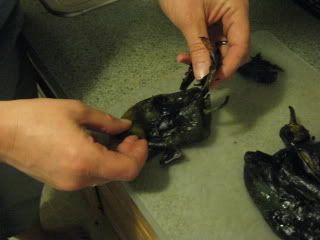
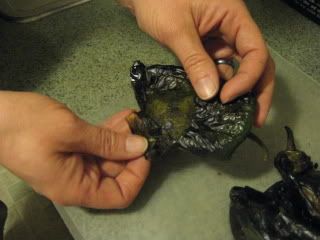
Gently rub, pull off the blackened skin. Some people do this under running water. I don't, because if I went through all the trouble of lighting the grill, I don't want to rinse away any of that yummy grilled flavor.
Photobucket
Photobucket
Photobucket

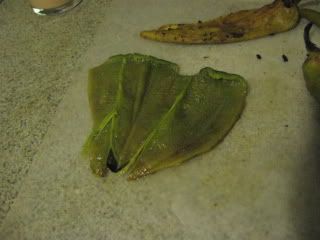
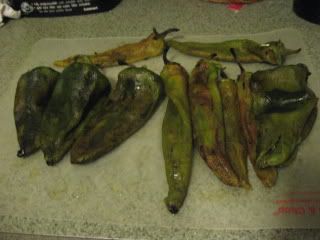
Now you have a pile of skinned chilies
Photobucket

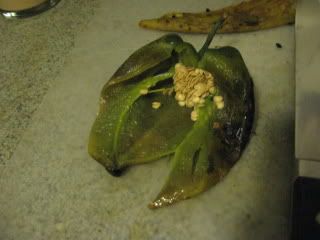
Now remove the stems & seeds.
Photobucket
Photobucket

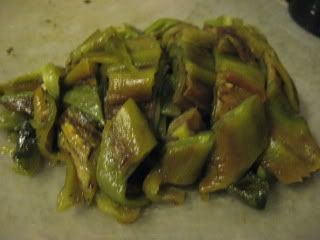
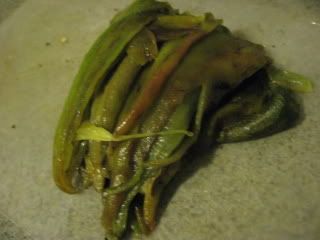
Put the skinned, seeded chilies in a pile
Photobucket

And give them a rough chop.
Photobucket

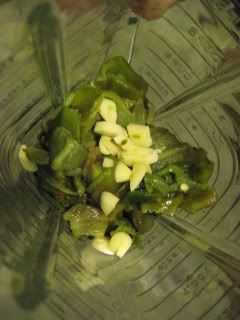
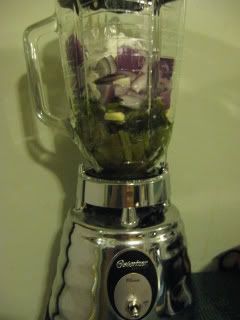
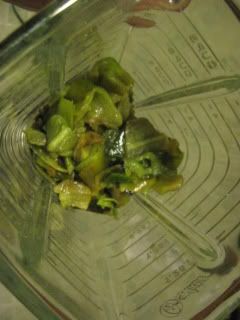
Put the chilies & seeded chopped jalapeno into a blender or food processor.
Photobucket

Add the garlic
Photobucket

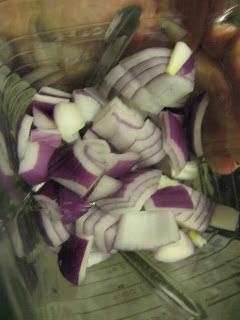
Onions
Photobucket

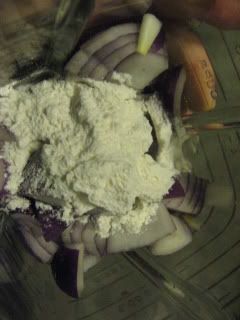
Flour & garlic salt
Photobucket

Photobucket

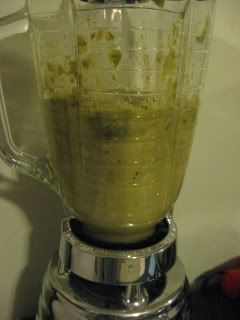
Blend on low speed until smooth. Add some of the water if you need to.
Photobucket

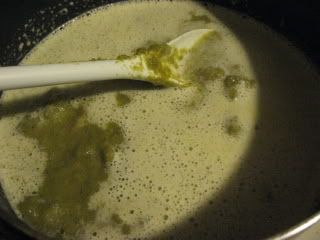
Pour into a medium saucepan; add water.
Cook and stir until slightly thickened and bubbly.
Photobucket

Reduce heat and boil gently, uncovered, about 30 minutes, stirring occasionally, until reduced to 2 1/2 cups.
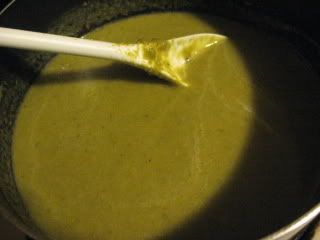
Photobucket

Now it's ready for whatever your green sauce needs may be!
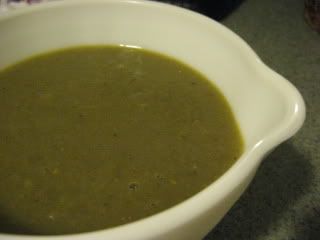
Photobucket