Showing posts with label Shrimp. Show all posts

Thursday, July 26, 2012

Amazing Shrimp Marinade

My friend, Erin & I had been dying for grilled shrimp for quite a while. Ericka was in town for the weekend, so I decided it was a perfect time to make it!

I kinda dawdled trying to find a recipe for the marinade. I had looked at a few that looked OK, but nothing looked really great.

So finally... being the procrasti-slacker that I am... the morning of dinner, I jumped online again to look for a marinade.

Not wanting to waste time, I went to allrecipes.com. I found a five star recipe with over 1600 reviews. Even with people reviewing... and changing ALL of the ingredients before they make it, I figured this had to be a good one... and let me tell ya, I was NOT disappointed!!

Photobucket

Marinated Grilled Shrimp
3 cloves garlic, minced
1/3 cup olive oil
1/4 cup tomato sauce
2 tablespoons red wine vinegar
2 tablespoons chopped fresh basil
1/2 teaspoon salt
1/4 teaspoon cayenne pepper (more or less to taste)
2 pounds fresh shrimp, peeled and deveined

In a large bowl, stir together the garlic, olive oil, tomato sauce, and red wine vinegar.
Season with basil, salt, and cayenne pepper.
Add shrimp to the bowl, and stir until evenly coated.
Cover, and refrigerate for 30 minutes to 1 hour, stirring once or twice.
Thread shrimp onto skewers, piercing once near the tail and once near the head.
Discard marinade.
Preheat grill for medium heat.
Lightly oil grill grate.
Cook shrimp on preheated grill for 2 to 3 minutes per side, or until opaque.

~~~~~~~~~~~~~~~~~~~~~~~~~~~~~~

So I doubled this recipe. I started with a 5 pound bag of frozen shrimp. (I left a pound in the freezer)

Since I procrasti-slacked, I had to thaw mine in the sink under cold water instead of in the fridge.
Photobucket

Then I set up my peel & clean station in the sink.

Colander filled with thawing shrimp. Empty colander for peeled, cleaned shrimp and a ziplock bag to collect the shells to make stock at a later date.
Photobucket

The shells & legs pull off easily, put them in the ziplock bag.

To devein the shrimp, just slice along the center back, pull out the vein and wash it down the drain.

Photobucket

Now I have a big bag of shrimp shells to make stock!
Photobucket

Just store them in the freezer.

And a big bowl of cleaned shrimps!
Photobucket

Whisk everything together... I added extra cayenne, because we like it spicy...
Photobucket
Photobucket

I put the shrimps and the marinade in a ziplock bag and into the fridge.
Photobucket
Photobucket

After about an hour I skewered them on wooden skewers that had been soaking in water for about an hour.

I put them in a glass baking dish for easy storage until I was ready to grill.
Photobucket

I also poured the leftover marinade over them, since it would still be a little while before I was ready for grilling.

Then onto a pre-heated grill.
Photobucket

Flip
Photobucket

And it's dinner time!
Photobucket

I spiced mine up a good bit, but they weren't too spicy.

These shrimps were a HUGE success. Everyone really really loved them. I can't say enough about how delectably delicious they were!

If you actually have leftovers, which I doubt you will... they'd be awesome on a salad or in a wrap.

Plus they were so easy!!

To BlondiePerez on allrecipes.com.... Well done!!

I'm going to be trying this marinade on chicken, beef and pork!

If you want to leave your dinner guests, ooooing and ahhhhing over your mad culinary skills... I highly recommend you try this!

Wednesday, January 27, 2010

Ukoy ~ Shrimp Fritters

So a couple times a year, I try to make a Filipino feast for my kids. They rarely get to see that side of the family, but I want them to be at least familiar with the food!

Now the Filipino side of the family is not my side of the family. So I mostly have to wing it.

While reading one filipino dish a week, I stumbled across Ukoy... Shrimp Fritters.

I knew right away that I had to make them. It took me almost a year... but I finally did!

They are sooooo good!!!!

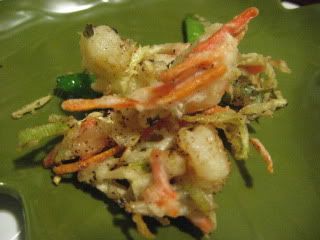
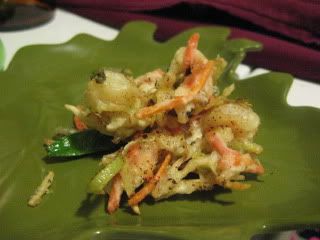
Photobucket

Ukoy

Batter:
3/4 C rice flour
1/3 C all purpose flour
1/2 tsp baking powder
1/4 tsp salt
1 egg
3/4 C water

Mix all the dry ingredients in a bowl. Beat the egg together with the water. Mix the dry and wet ingredients and until smooth. Let cool in the fridge for about 45 minutes to 1 hour.

Filling:
1 C shrimps
1 C leeks white part julienned
1 C carrots julienned
1 C bean sprouts
1 C snow peas julienned
1 C cabbage julienned

frying oil
4-inch square banana leaf (I used a few!)

Mix all the ingredients in a big bowl. Pour enough batter just to coat. Oil one side of the banana leaf. Place banana leaf on a spider and put a little bit of the mixture on top. Fry in 300-350 degree F oil. After about 1 minute of so take the banana leaf out. Continue frying for about 1 minute. Then flip over. Serve with vinegar, garlic, and salt sauce.

He has a video on his post and I highly suggest you check it out.

Frying stuff on a banana leaf was intimidating enough, but if I hadn't been able to see how he does it, there's no way I would have even tried!

You need rice flour.
Photobucket

If they don't have this at your grocery store, you can get it at an Asian market.

You can get banana leaves there too. It's a gigantic package of frozen banana leaves for $1.25! I don't know how much I thought they'd be. But I didn't expect them to be that cheap!

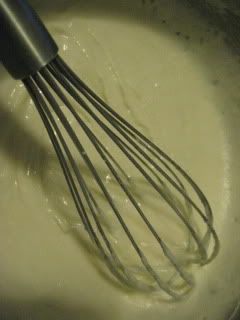
So whisk up your batter and put it in the fridge.
Photobucket

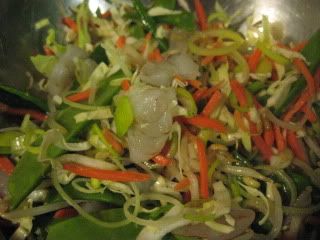
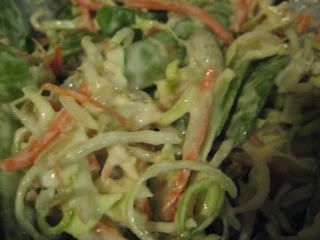
Toss together all of the veggies & shrimps, until well combined.
Photobucket

Fast forward an hour...

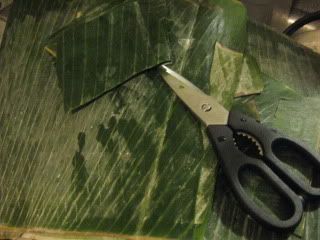
Cut some banana leaf squares.
Photobucket
(Did ya notice I finally have REAL kitchen scissors now?!!)

Heat the oil.

Add just enough batter to coat the veggie/shrimp mixture.
Photobucket

Now for the really intimidating part... the frying.

I had no idea frying anything would intimidate me... but I had never tried to fry loose things that are supposed to end up together!

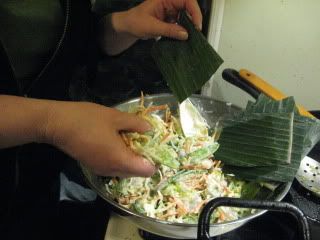
Grab a little handful/big pinch of veggie/shrimp stuff and put it on a banana leaf square.
Photobucket

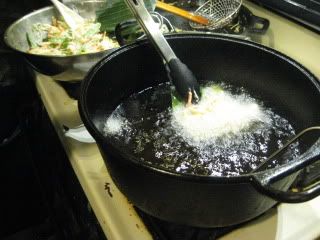
Now into the oil.

I had a hard time coordinating the spider after it was in the oil and ended up kinda holding the leaf in place with tongs.
Photobucket

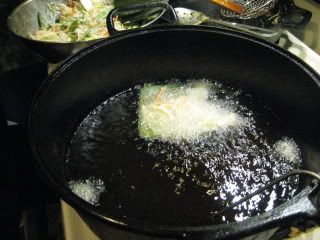
When it's kinda held together, you can let go.
Photobucket

Then you can slide the leaf out of the pan.

When the fritter golden, turn it over and cook until it's golden on the other side too.

You really really really need to watch his video to have a better idea of how to do this.

Drain on a rack and serve with your favorite dipping sauce. I meant to try the sauce in this recipe but forgot and ended up using vinegar/soy sauce/garlic. (I can drink that stuff it's so good!!!)

Photobucket

Everyone LOVED these!!! I'll definitely be making them again!

My pictures don't begin to show you how yummy they are! You must try them!

Yikes! I almost forgot!!

paoix... this is for you!
Photobucket

Monday, August 24, 2009

Paella ~ Coast to Coast Cooking at BakeSpace

Our first Coast to Coast Cooking event at BakeSpace was so much fun, we decided to do it again!

This time it's Paella!

It's something I've been wanting try for a long time! So when Michele suggested it, I was all for it!

I picked bits and pieces from a few different recipes and came up with this.

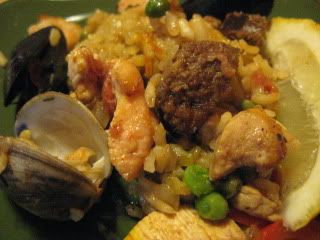
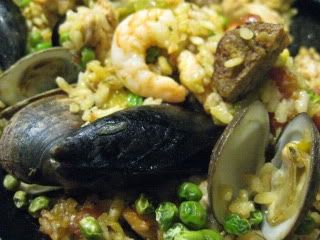
Photobucket

Paella
2 C arborio rice
3 1/2 C shricken stock (chicken stock w/shrimp shells simmered in it)
15 mussels
15 clams
15 shrimps (*giggle* - sorry Shels!)
2 chorizo links, cooked & cut into bite-sized pieces
2 lbs chicken, cut into bite-sized pieces
1/2 lb pork, diced
1 small green bell pepper, thinly sliced
1 small red bell pepper, thinly sliced
1 small yellow bell pepper, thinly sliced
1 medium onion, diced
3 garlic cloves, diced
1 15 oz can diced tomatoes
2 tsp smoked paprika
1 1/2 tsp cumin
2 fresh rosemary sprigs, needles chopped
3 fresh thyme sprigs, leaves only
salt & pepper
big pinch of saffron
3/4 C peas
olive oil

Preheat oven to 350F.

In a large skillet, saute pork & chicken with garlic, onions and peppers in a little olive oil. Cook until meat is mostly cooked and veggies are tender. Add tomatoes; cook a few more minutes.

Remove meat & veggies from skillet and set aside. Add some more olive oil to the skillet and saute rice for a few minutes. Add rosemary, thyme, cumin, paprika, salt and pepper. Saute another minute. Add shricken stock & saffron.

Bring to a boil; add meat and veggies back to skillet, cook for a couple minutes and stir until well combined. Stir in chorizo, shrimps and peas. Arrange mussels and clams in rice (or just stir them in too)

Bake uncovered 25 - 30 minutes, or until liquid is absorbed and rice is tender.

~~~~~~~~~~~~~~~~~~~~~~~

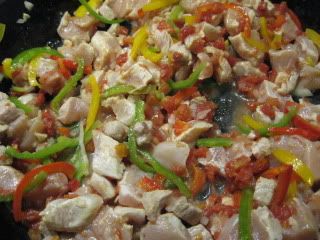
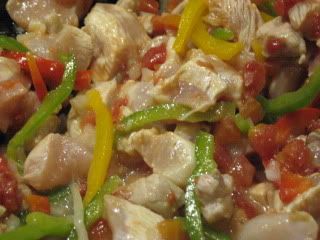
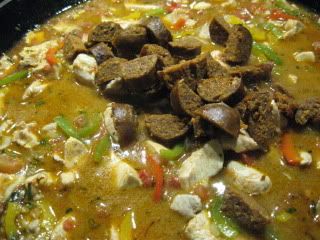
Saute chicken, pork & veggies.
Photobucket

Photobucket

When the meat is mostly cooked, remove from skillet and set aside.

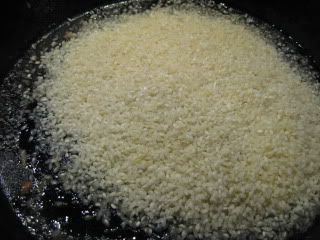
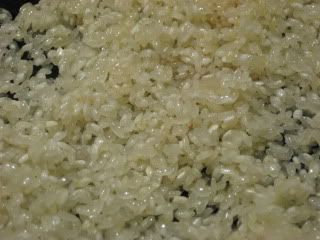
Add some more olive oil to the skillet and saute the rice.
Photobucket

Photobucket

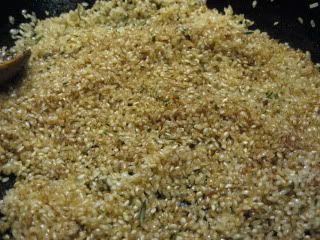
Add herbs & spices and cook another minute.
Photobucket

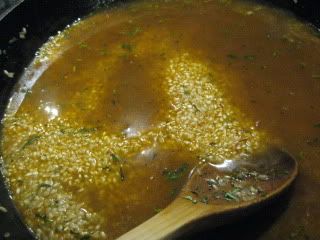
Add shricken stock and saffron and bring to a boil.
Photobucket

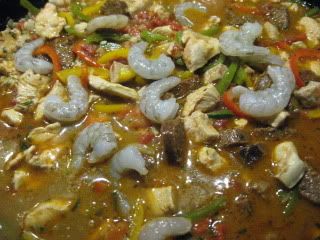
Add meat & veggies back to skillet, plus chorizo, shrimps & peas.
Photobucket

Photobucket

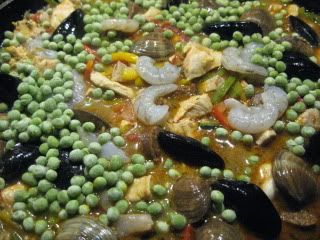
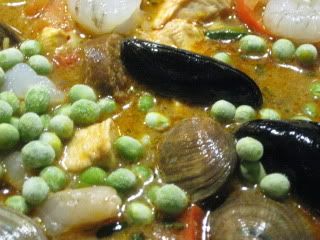
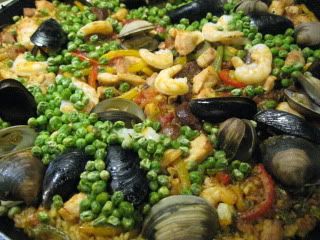
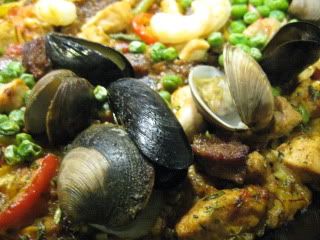
I didn't 'arrange' my mussels & clams. I kinda tossed them on top with the peas. I think I next time I'd stir them all in.
Photobucket

Photobucket

Bake for 25 - 30 minutes or until all liquid is absorbed and rice is tender.

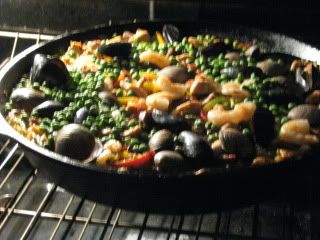
Blurry... middle of baking pic...
Photobucket

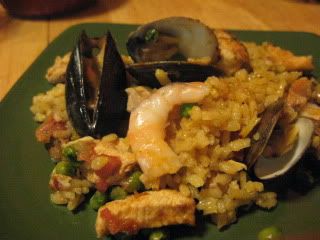
Remove from oven and rest for 5 - 10 minutes before serving.
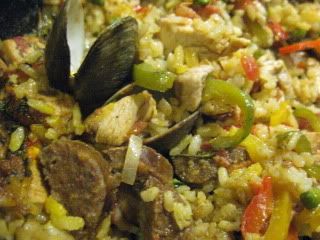
Photobucket

I thought paella was supposed to be crispy on the bottom... but most of the recipes I looked at called for this baking method. I don't know how it would get crispy in the oven.

I put it back on the stove and cooked it a little, but still didn't end up with bottom crispies. I didn't want to burn it, next time I'll give it a little longer on the stove top.

It was very tasty and everyone liked it.
Photobucket

And had seconds.
Photobucket

Photobucket

This is a keeper... but I still need to figure out the crispy bottom thing.
Photobucket

Maybe I can reheat the leftovers in a skillet and end up with crispies!

~~~~~~~~~~~~~~~~~

Anyway... This wouldn't be Coast to Coast Cooking if I didn't have some other cities checking in!

So... first stop on the Coast to Coast Paella Plane is Danielle in Burbank, California!

Here's Dani's Paella.
Photobucket

Isn't that beautiful?

But this time, you get TWO for the price of ONE!! On our way to Burbank, we made a stop in Mound, Minnesota and Dani picked up BakeSpace Guest Blogger Cathy!!

Here's Cathy's Paella!
Photobucket

Wow!! That looks GREAT!!! Why isn't she blogging more often??

You can see Dani's & Cathy's recipes at Cooking for My Peace of Mind.

And since Jet Blue had their unlimited travel sale this month... we're heading back east to Morris Plains, New Jersey where Michele cooked up her version of Paella!
Photobucket

YUM!! Look at those big pieces of sausage!

Check out Michele's recipe at My Italian Grandmother.

Time to jet back to San Diego, California for Shane's Paella!
Photobucket

WOW!!! What are you waiting for?!!

You can find Shane's recipe at Culinary Alchemy.

Back across the country again... this time we're landing in Rochester, NY to check out Martha's Paella!
Photobucket

Mmmmmm... Scroll down a little when you click HERE to see Martha's post at BakeSpace!

And our final stop on the Coast to Coast Paella Plane is Seward, Alaska for Moni's Paella!
Photobucket

That looks delish!!! You can find Moni's recipe at Alaskan Dermish in the Kitchen!

This was so much fun again!!

Don't you want to cook with us??

Check out Coast to Coast Cooking in the Recipe Swap section of the BakeSpace forum!