Showing posts with label Cinnamon. Show all posts

Thursday, October 11, 2012

Caramel Apple Enchiladas

The second I saw Caramel Apple Enchiladas on In the Kitchen with KP, I knew I had to make them!

Growing up, we used to always go apple picking in the fall so that's when my mom always started making apple desserts! Apple Crisp, Apple Dumplings, Apple Pies...

The weather was cool in Pittsburgh. It was definitely feeling like fall. And I was dying to get my apple on.

As soon as I saw the recipe for Caramel Apple Enchiladas, I couldn't stop thinking about them. Unfortunately, I was heading out of town to help my sister with her annual Out of the Darkness Walk for Suicide Prevention.

Which, by the way, you can still make a donation to, if you're so inclined, by clicking this link... http://afsp.donordrive.com/participant/spryte

I was considering making them at her house... but we were so busy, there was just no time. So they had to wait... and I have to say, they were definitely worth the wait!!

After checking out LOTS of Apple Enchilada recipes, (most of which called for canned apple pie filling *shudder*) this is what I came up with.


Caramel Apple Enchiladas
5 flour tortillas (soft taco size)
5 apples (I used 3 MacIntosh & 2 Honey Crisp)
1/4 C brown sugar
1/2 - 3/4 tsp cinnamon
pinch of nutmeg
1/4 C butter
5 Caramel sheets (used for easy caramel apples)
1 TBLS butter, melted
1 TBLS cinnamon/sugar (for sprinkling)
Vanilla ice cream (optional)
Caramel sauce (optional)

Preheat oven to 425F.
Peel, core and chop apples.
In a large skillet over medium heat, melt 1/4 cup of butter.
Add chopped apples, sprinkle with brown sugar, cinnamon & nutmeg.
Cook apples for about 5 - 8 minutes, or until tender.
Place flour tortilla on work surface, then place caramel sheet in the center of the flour tortilla.
Put a scoop of cooked apples in the center.
Fold bottom of tortilla up over apples, fold sides in, then roll it up, being careful to keep the filling inside.
Place seam side down in 8x8 glass baking dish.
Repeat with remaining tortillas & caramel sheets.
Brush enchiladas with melted butter and sprinkle with cinnamon/sugar.
Bake at 425F for 10 - 15 minutes or until golden.
Serve warm with ice cream and a drizzle of caramel.

~~~~~~~~~~~~~~~~~~~~~~~~~~~~~~

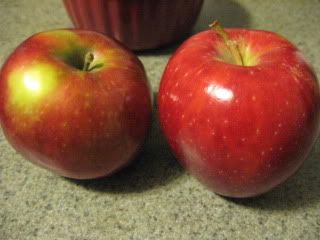
So peel your apples.


I like to use a couple types of apples, when I bake.
One is almost always MacIntosh, today the other was Honey Crisp.

Cut out the cores and chop them up.


Melt 1/4 C butter in a large skillet.


Add the chopped apples, brown sugar, cinnamon, and nutmeg.


Cook 5 - 8 minutes, or until apples are tender.


Ok... those spicy apples smelled amazing!

Now you need soft taco sized flour tortillas & caramel sheets.

You can usually find caramel sheets in the produce department at the grocery store.


I had never used them before. They're pretty cool... just packed between sheets of parchment paper.


First lay out a tortilla.


Add a caramel sheet.


Add a scoop of apples.


Fold the bottom of the tortilla up over the apples.


Fold in the sides.


Then roll it up and place it seam side down in an 8x8 glass baking dish.

Repeat with remaining tortillas & caramel sheets.


I had a little bit of apple left over... it was so good reheated on pancakes the next day! But it would have also been great stirred into oatmeal.


Now brush the enchiladas with melted butter.


Sprinkle them with cinnamon/sugar.


And bake for 10 - 15 minutes at 425F, or until golden.


Some of the caramel oozes out, but that's ok. It totally scoops right up with the enchiladas.

Serve with some vanilla ice cream and an extra drizzle of caramel!


These were SO good!! And they went together really fast! No baking for an hour or making dough like a pie. Just sweet, spicy, apply deliciousness!

Thursday, November 11, 2010

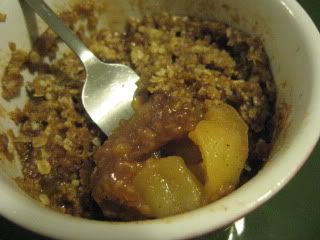
Microwave Apple Crisp for One

Tawny went off to college a few months ago. One thing I've noticed, is that she hates to hear when I'm making her favorite foods when she's not home.

She is learning to use her little dorm-sized microwave for more than just heating stuff up. Which is pretty much all we use it for at the house. But she still misses some of her favorite foods.

I was recently making an Apple Crisp and thought that Tawny would be bummed she'd be missing out.

Then I wondered if it could be made in the microwave, so she wouldn't have to miss out!

So I consulted my friend the internet. There were a lot of recipes... I decided the closest recipe to what I was looking for was this one from food.com, formerly know as RecipeZaar. I did change it a little, because I can't imagine apple crisp that doesn't have spiced apples in it!

Photobucket

Microwave Apple Crisp for One
1 apple, peeled and thinly sliced
2 TBLS brown sugar
2 TBLS quick-cooking oats
1 TBLS flour
1/8 tsp cinnamon
1 TBLS butter, melted
1 TBLS cinnamon/sugar mix (like you'd use for cinnamon toast)

Place thinly sliced apple in a 1.5 - 2 cup sized ramekin. Toss with cinnamon/sugar mix. My mix usually has a little nutmeg in it too. Combine remaining dry ingredients in a separate bowl, until well mix. Stir in melted butter and pour over spiced apples.
Cook in microwave on high 2 - 3 minutes, or until apples are tender. Let it rest for a few minutes and the topping will get crispy.

My pics have double apples, because I like a mix of apples in my baked apple desserts and I was also trying another microwave single serve apple crisp recipe at the same time. The other was a dismal failure that I won't waste your time with.

MacIntosh & JonaGold Apples
I think it's a JonaGold. I always use MacIntosh, but I always change up it's companion/s.
Photobucket

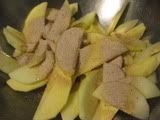
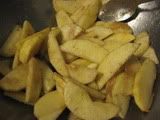
Peel, cut & toss with cinnamon/sugar
PhotobucketPhotobucket

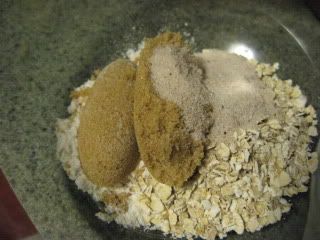
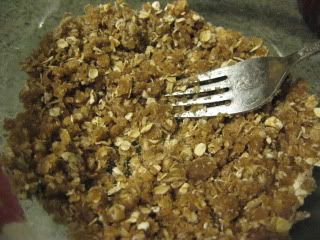
Mix remaining dry ingredients.
Photobucket

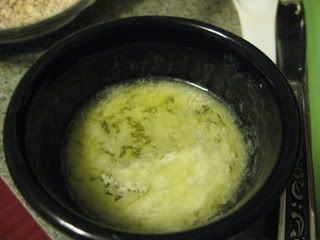
Stir melted butter into topping mix.
Photobucket

Photobucket

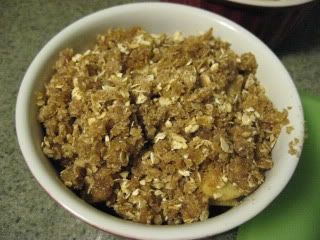
Pour over apples in ramekin.
Photobucket

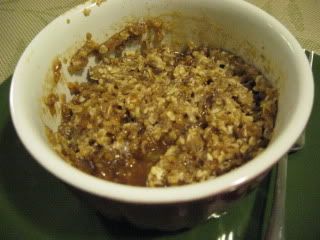
Microwave on high for 2 - 3 minutes, or until apples are tender.
Photobucket

Photobucket

This was so good!!! Not quite as good as Mum's Apple Crisp, but definitely a worthy substitute.

You don't have to be a college student, longing for home cooking to enjoy this! It's perfect if you just want a little something. It's made from stuff I think most people would usually have on hand and it only takes about 5 minutes to make!

Want to make it a little extra special? Add some whipped cream or ice cream!

It's just not fall without Apple Crisp!

Tuesday, May 11, 2010

Horchata

So I had my Ocho (Cinco) de Mayo Party on Saturday.

Since I had margaritas & sangria & Mexican beer, I decided I wanted a special drink for the younglings too. They usually just end up with soda and juice boxes and water... nothing special or fun about that.

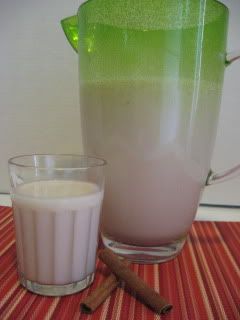
So I was trying to think of something good and came up with Horchata. It seemed like a popular drink when I was living in Southern California, although I'd never tried it. I started looking up recipes. Horchata is Cinnamon Rice Milk. And many descriptions called it creamy... but many also called it refreshing. To me, the two words don't seem able to describe the same thing. Was I ever wrong!

All of the recipes were wicked easy and very similar to each other. This is what I put together. The hardest part was waiting, since it has to 'soak' in the fridge overnight.

Photobucket

Horchata
1 3/4 C long grain white rice (uncooked)
2 cinnamon sticks
7 C water
3/4 C milk
1/2 C sugar
1 TBLS vanilla

Place rice, cinnamon sticks and about 2 cups of water in blender.
No cooking for this recipe =)
Blend until rice and cinnamon sticks are roughly ground. Add remaining water and blend some more.
Pour into a pitcher and let it soak in the refrigerator overnight.
Strain out rice and cinnamon sticks (you can save this for rice pudding).
Add milk, sugar and vanilla. Stir until well combined.
Serve over ice.
Enjoy!

I don't really have any step by step pictures for this, because I was crazy busy and just wanted to go to bed by the time I was getting this ready for the fridge.

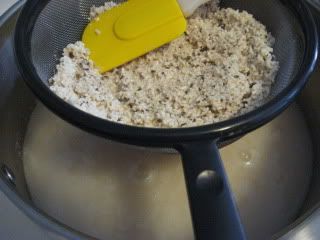
The next morning, strain out the rice & cinnamon sticks.

I poured it through a sieve.
Photobucket

Then stir milk, sugar and vanilla into the liquid.

That's it!! How easy is that??
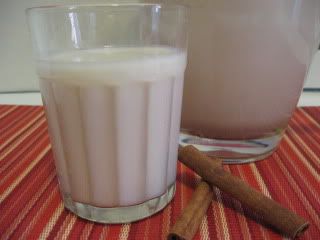
Photobucket

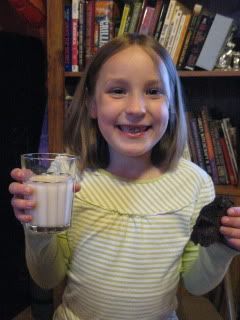
Hunter, one of my youngest (and cutest) party guests, gave the BEST review a hostess could ask for!

She said, "It dances in my mouth and laughs all the way to my stomach!"

How great is that??!!!

Here's Hunter with her Horchata and a Mexican Brownie.
Photobucket
(Mexican Brownie recipe coming soon!)

This really was so refreshing! I was very pleasantly surprised with how yummy this was!

If you try it, I hope you like it! We did!

Tuesday, November 3, 2009

Masala Chai

I LOVE Chai.

I order it often when I'm out. But I'm going to guess that it's not usually made from beautiful whole spices.

Photobucket

I decided I wanted to make it at home.

Chai is made from four things.

  • Tea
  • Milk
  • Spices
  • Sweetener


Tea...

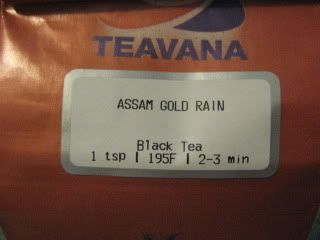
What kind to use? My regular everyday tea, for iced tea, is just plain old Lipton, which I love. But I think this calls for some nice strong Indian black tea leaves.

So I consulted some friends who work for Teavana. I let them know I wanted a strong tea to stand up to all of the spices. They suggested Assam.

Assam it is!

Milk...

Most of the recipes I looked at called for whole milk. I always order a non-fat Chai, but this was an experiment, so I decided to go with the flow and used whole milk.

Spices...

This was the most versatile part! There were a tons of different spices. Two seemed to be in almost every recipe. Cardamom and Cloves. YUM!
I ended up choosing Cardamom, Cloves, Allspice, Star Anise, Cinnamon and Fresh Ginger.

Sweetener...

I just used honey. =)

Ready!

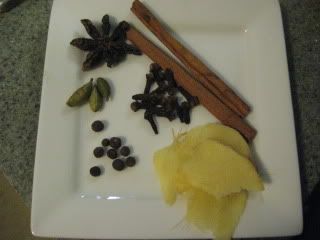
So I gathered my spices.
Photobucket

2 Cinnamon Sticks
1 almost whole Star Anise
about a dozen whole Cloves
8 or so Allspice Berries
3 Green Cardamom Pods
about an inch and a half of sliced Ginger Root.

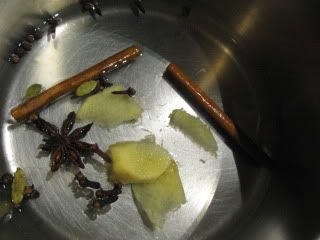
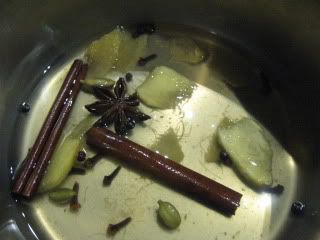
Add that to a cup of water and bring to a boil.
Photobucket

Let is steep for 20 minutes.
Photobucket

I tried to kinda crush some of the spiced with the handle of a wooden spoon... but they really weren't having it.

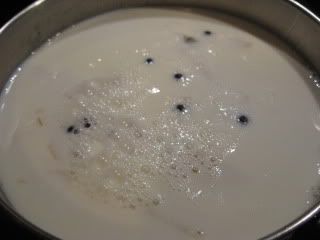
After steeping... add 5 cups of whole milk and bring that to a boil.
Photobucket

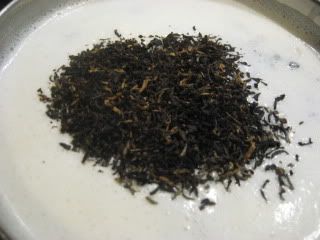
Time for the tea.
Photobucket

Add tea leaves.
Photobucket

Steep for 10 minutes.
Photobucket

Photobucket

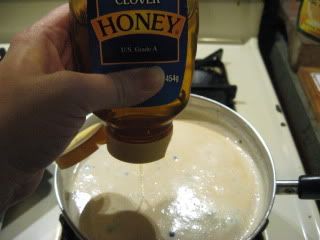
Add honey.
Photobucket

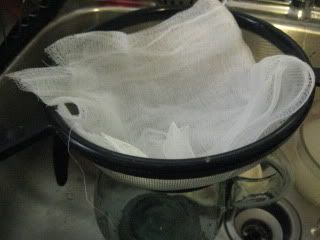
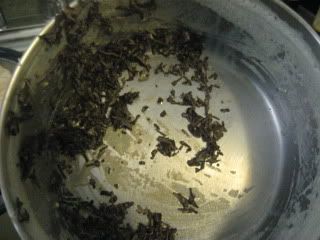
Strain out spices & tea leaves.
Photobucket

Photobucket

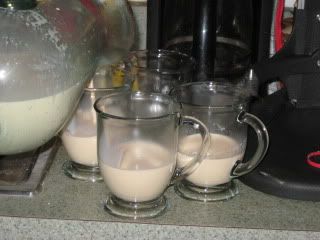
Photobucket

Photobucket

Photobucket

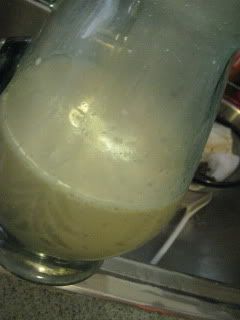
That's it!
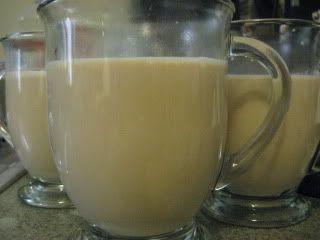
Photobucket

Plus we added cinnamon sticks to our mugs.

So for a first try, this came out really good.

Jon & Ericka had never had Chai and both really liked it.

Ericka and I agreed that next time definitely NOT whole milk. WAY too thick and creamy. Who would ever think that thick & creamy would be a bad thing? While it wasn't really bad, it just had too much of a mouth coating thing going on, know what I mean?

Also, it could have been hotter and spicier and stronger.

So next time, I'd add more spices in general and up the ratio of Cardamom a little while I was at it.

I'd also add a little more tea.

Instead of steeping the tea off the heat, after the last boil, I think I'd just turn the fire down to low to keep it hotter and maybe make it a little stronger.

Do you make Chai at home?

I'd love to hear how you do it!