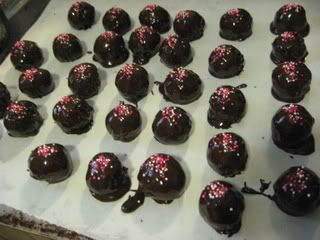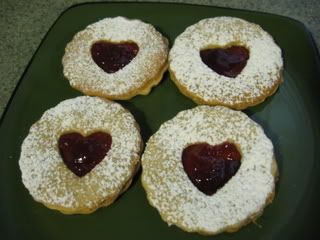
Showing posts with label Valentine's Day. Show all posts

Wednesday, February 18, 2009

Linzer Cookies

More food from Valentine's Day!

Photobucket

I LOVE Linzer Cookies, but for a very long time, it never occurred to me that I could make them myself.

I used to get them at the bakery in the Stop & Shop that was near my house in Beverly. They were great! I moved away and Linzer Cookies just didn't look as good anywhere else.

When I decided to have a Valentine's Day Wine Tasting Party, I also decided that Linzer Cookies needed to be on the menu!

I looked around the internet at recipes.... and mostly, they are all very similar.

This is adapted from a Southern Living recipe

Linzer Cookies
1 1/4 C butter
1 C powdered sugar
2 1/2 C flour
1/2 C almonds, toasted & finely chopped
1/4 tsp cloves
1/4 tsp cinnamon
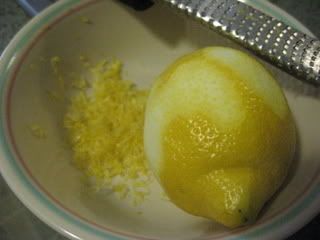
1 1/2 tsp lemon zest
1/4 - 1/3 C raspberry jam
powdered sugar

Beat butter and powdered sugar until fluffy.
In a separate bowl combine flour, almonds, cloves, cinnamon and lemon zest.
Slowly mix with butter mixture until just blended.
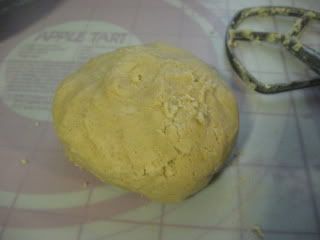
Divide dough into two equal portions and refrigerate for an hour.
Preheat oven to 325F
One dough ball will be cookie bottoms and the other will be cookie tops (and cutouts)
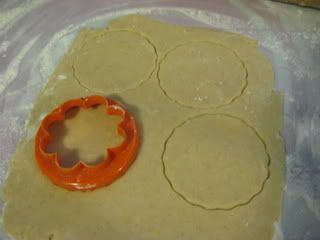
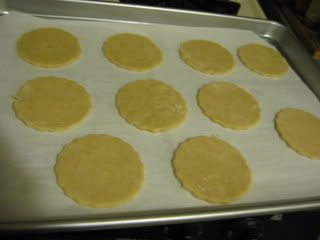
Using a cutter 2.5 - 3 inch cookie cutter, cut out cookie bottoms. Bake cookies on a parchment paper lined cookie sheet for approximately 15 minutes.
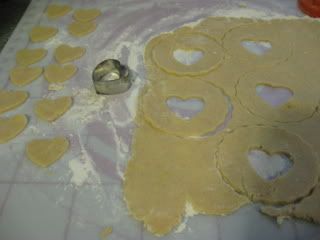
For the cookie tops, use the same cutter as the bottoms, but cut a smaller shape out of the center. Your cookie frames & centers will bake a little faster than your solid cookies.
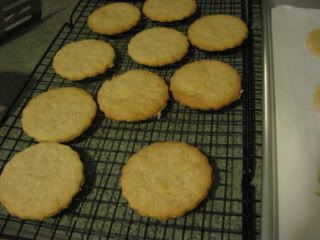
Cool cookies on a wire rack.
Dust the cookie tops & cutouts with powdered sugar.
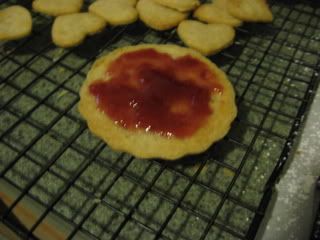
Gently warm the raspberry jam. Spread the warmed jam on the solid cookie bottoms. Top with a cookie frame and fill the cut out with more jam.
These might sound a little complicated, but they were so easy!!
Enjoy!

~~~~~~~~~~~~~~~~~~~~~~~

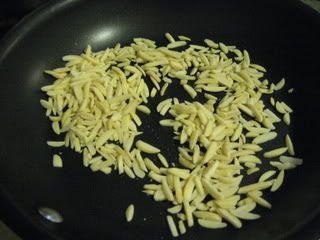
Start off by toasting the almonds. You can do it in the oven or in a skillet.
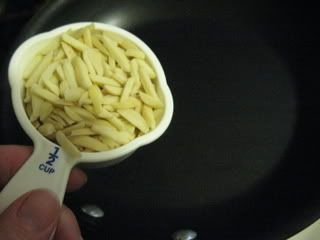
Photobucket

Mine could have been a little toastier!
Photobucket

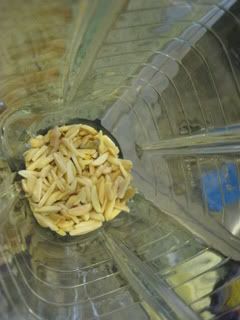
Grind them in a food processor or blender.
Photobucket

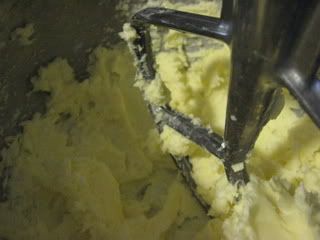
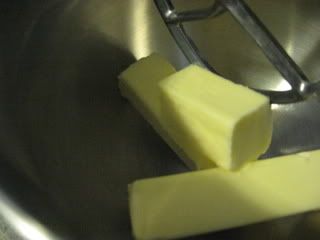
Beat the butter and powdered sugar until fluffy.
Photobucket

Photobucket

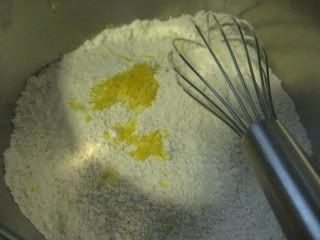
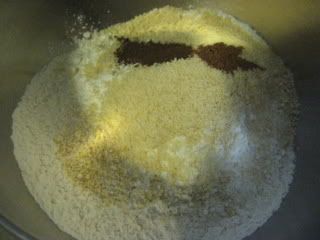
Combine flour, almonds, cinnamon, cloves & lemon zest.
Photobucket

Photobucket

Photobucket

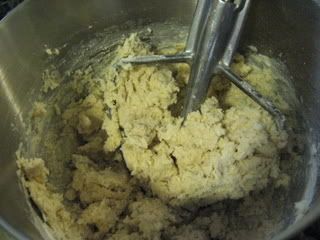
Add to butter mixture and beat until just blended.
Photobucket

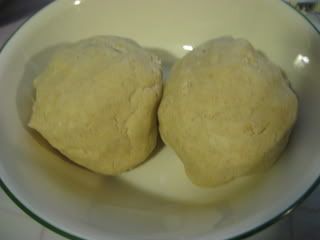
Divide into two equal parts and chill for an hour.
Photobucket

Photobucket

Fast forward one hour...

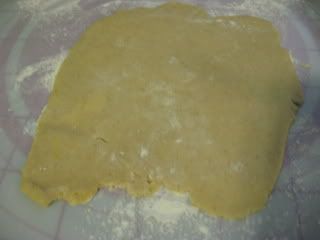
On a lightly floured surface, roll out dough.
Photobucket

Cut out solid base cookies.
Photobucket

Bake on a parchment paper lined cookie sheet.
Photobucket

And cool on wire rack.
Photobucket

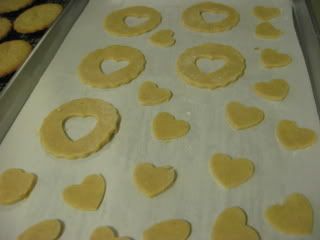
Now it's time to cut out the cookie tops.
Photobucket

They bake a little quicker, so be sure to watch them.
Photobucket

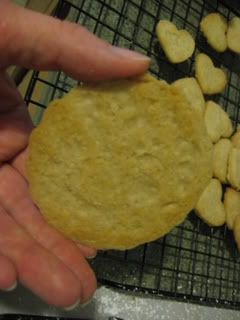
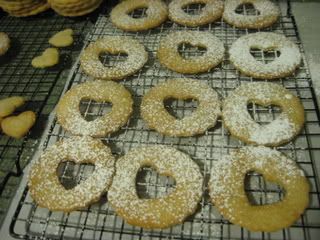
When they are cooled, sprinkle them with powdered sugar.
Photobucket

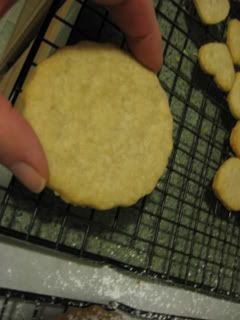
Time to spread the bottoms with jam. Raspberry is my favorite, but you can use whatever kind you like!

Pick up the cookie and turn it over the jam spreads on the part that was against the cookie sheet.
Photobucket

Photobucket

Photobucket

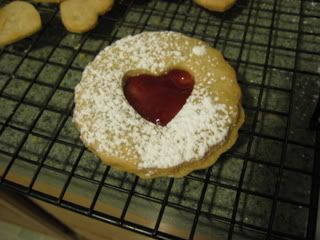
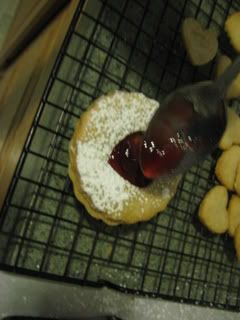
Cover it with a powdered sugar dusted cookie top.
Photobucket

And add a little more jam to the cut out.
Photobucket

That's it!!
Photobucket

You could make little sandwich cookies out of the cutouts, but I just dusted them all with powdered sugar.

And apparently I don't have a picture of them!

They were all really good!! And so much easier than I thought they'd be!

Tuesday, February 17, 2009

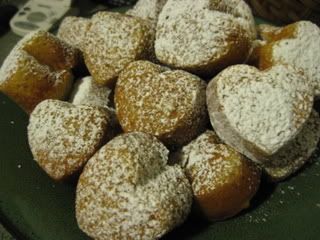
Donna's Toasted Pecan Baby Cakes

First I just want to say, "Mum! You will LOVE these!!!"

Photobucket

Second, Donna... these totally ROCK!!!!!

When I saw this recipe over at My Tasty Treasures I knew I HAD to make them!!!

I'm so glad I did!! They are so good!! Not too sweet, pecany, light, fluffy, super yummy!!

I would make everyone go to My Tasty Treasures to read Donna's recipe first hand over there, but I know my mom can't read Blogger at work and I know she'll love these. (Mum subscribes to my blog via email... you can too! Sign up on the left!) But if you are able, go to My Tasty Treasures and check out this recipe and everything else she has over there. You will be glad you did!!

I would happily eat at Donna's house every single day!!

Donna's Toasted Pecan Baby Cakes
1 C butter, softened
1 1/2 C granulated sugar
2 1/2 tsp baking powder
1 tsp vanilla
1/2 tsp salt
3 eggs
2 1/4 C flour
1/2 C pecans, toasted & ground
1 1/4 C milk
powdered sugar

Preheat oven to 350F. Grease and flour 24 - 2.5in muffin cups.

In a large bowl beat butter for 30 seconds. Gradually add sugar, beating until well combined, scraping sides of bowl occasionally.
Beat in baking powder, vanilla and salt.
Add eggs one at a time, beating on low after each addition, just until combined.

In a medium bowl combine flour and ground pecans. Alternately add flour mixture and milk to butter mixture, beating on low speed after each addition until well combined. Spoon batter into prepared muffin cups.

Bake for 15 - 18 minutes or until pick stuck into center comes out clean. Cool cakes in pans on wire racks for 5 minutes. Remove from pans and cool completely. Sprinkle with powdered sugar just before serving.

Note: To make ahead, prepare Pecan Baby Cakes and cool completely. Place in airtight container. Seal & label. Freeze for up to one month. Let stand at room temperature for 1 hour up to 24 hours before serving. Sprinkle with powdered sugar and enjoy!!

~~~~~~~~~~~~~~~~~~~~~~~

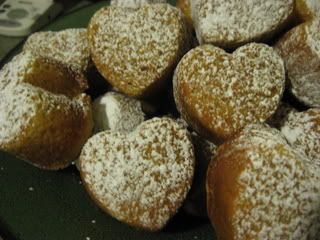
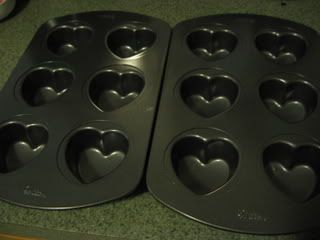
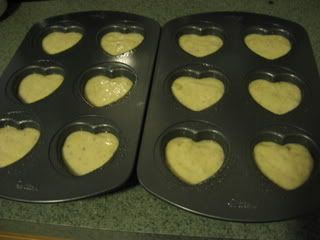
I wanted to make these heart shaped for Valentine's Day and my muffin cups were slightly on the small side. I should have just filled them a little less and make more cakes... but I didn't!
Photobucket

Photobucket

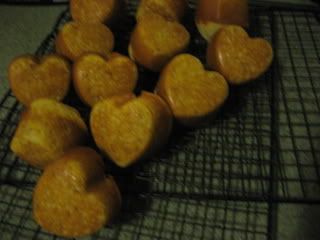
Since I filled them too full... they came out a little pregnant looking.

They were so puffy on top that they were no longer really heart shaped. So I decided to sugar the bottoms and let them lean up on their puffy toasted pecan bellies.
Photobucket

Photobucket

This is definitely going to be a 'go to' dessert recipe for me.

These are wicked quick and easy and seriously delicious!!!

Donna this is for you!!!
Photobucket

Monday, February 16, 2009

Oreo Truffles

Wine of the Month for the BakeSpace Wine Club is Muscat in all its forms. So I chose Valentine's Day for my monthly wine tasting party and went heavy on desserts to serve with Muscat.

I have to say, food pairing for wine tasting stresses me out. It usually turns out fine, but I was sweating this one out until the last minute.

Sorry... getting a little off track here!

Oreo Truffles. I think almost everyone on the planet made these for Christmas. I intended to make them too, but ran out of time. My unopened package of Oreos actually survived, because no one in my house knew it was there. I used up my original cream cheese on other things and no one eats the semi sweet baking chocolate! I just needed to pick up some cream cheese.

This is all you need.
Photobucket

A package of Oreos, finely crushed
2 - 8oz boxes of semi sweet baking chocolate
8oz package of cream cheese, softened

That's it!

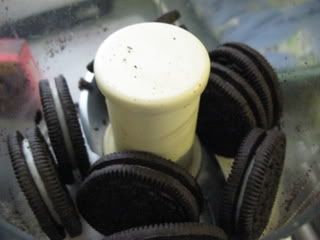
So crush the Oreos.
Photobucket

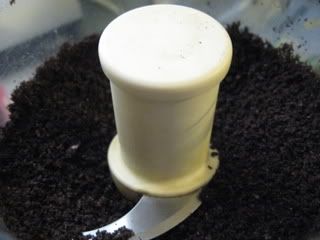
I used my tiny little Kitchen Aid chopper. I can't wait for my new KitchenAid 12 Cup Food Processor to arrive!!
Photobucket

You need 3 cups of Oreo crumbs.
Photobucket

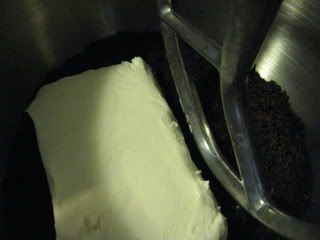
Mix the Oreo crumbs, with the cream cheese.
Photobucket

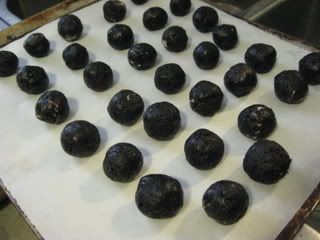
Form 1 inch balls with the Oreo/cream cheese dough.
Photobucket

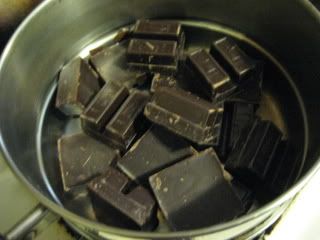
Meanwhile, melt the chocolate. I like to use a double boiler.
Photobucket

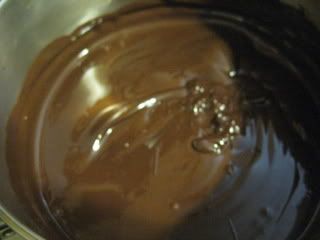
Melty...
Photobucket

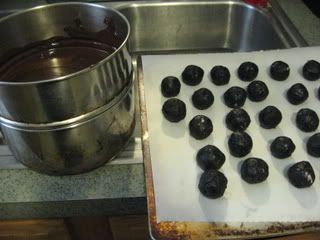
Now you just need to dip the Oreo balls into the chocolate. I was a little nervous about this part. Lots of people say this recipe is insanely easy, but I think an equal number of people say it's very hard to dip these without making a mess.

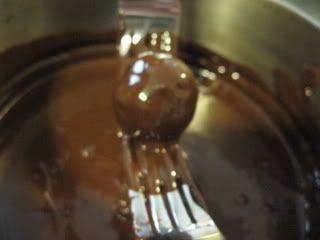
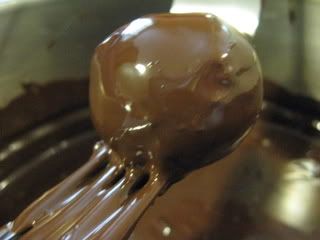
I used the two fork method of dipping and made no mess at all!!

Photobucket

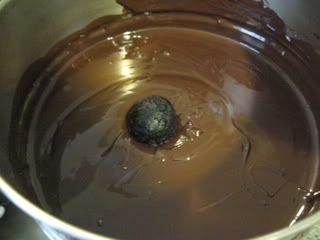
Drop an Oreo ball into the chocolate.
Photobucket

Roll it around so that it's complete covered. If you scoop it up with two forks, and roll back & forth a bit, the extra chocolate can drip back into the pan.
Photobucket

Photobucket

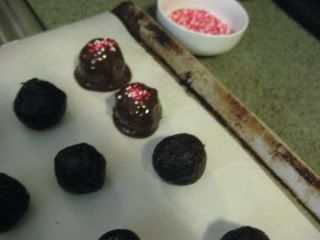
Then place it on a parchment paper lined cookie sheet and sprinkle with either crushed Oreos or sprinkles that 'fit' your occasion.
Photobucket

Photobucket

The little extra chocolate edges, just snap off after they chill.
Photobucket

Chill for an hour or until firm.

You can change up the cookies & the chocolate to your liking.

Enjoy!
Photobucket