I have been wanting to make sushi at home for a long time. But it was always a little too daunting for me.
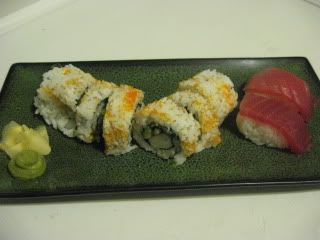
But this year Tawny's grad project included making sushi. Ok... I can just help Tawny, that's significantly less daunting! (for me anyway... maybe not for Tawny!)
She had been researching sushi extensively by that time. According to her research, sushi chefs spend a couple of years just learning how to make sushi rice! Actually the term sushi rice is a little redundant. In fact, the word sushi means vinegar-ed rice. But we'll say Sushi Rice anyway. It's a little less confusing.
Yikes! Could we pull it off in a single afternoon??
Of course!
So I asked Tawny if she wanted to write this blog post, since she did the most of the work. But she said, "Ummm.. NO!"
She's done with Grad Project (ROCKED IT!) and doesn't want to look back!
So here we go!
First we needed to make Sushi Rice.
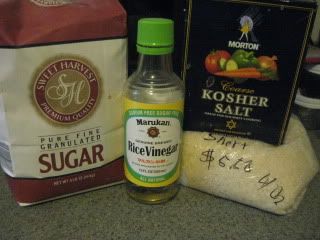
Sushi Rice
3 C short grain glutenous rice
3 1/4 C water
1/3 C rice vinegar
3 tbls sugar
1 tsp salt
First you need to prepare the rice.
Measure the rice.
Add water
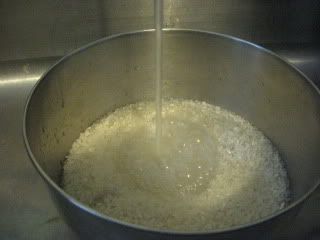
Wash rice in a bowl with your hands
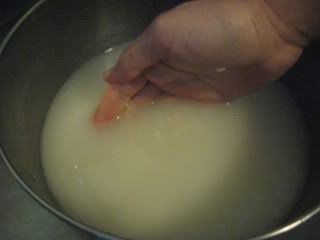
Drain.
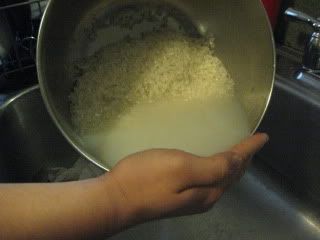
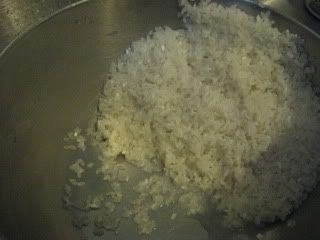
Rinse. Repeat. Just like the shampoo bottle says.
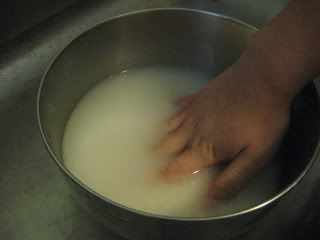
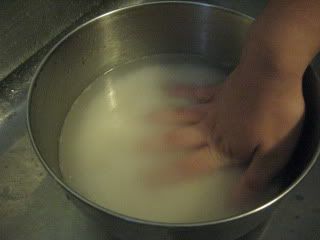
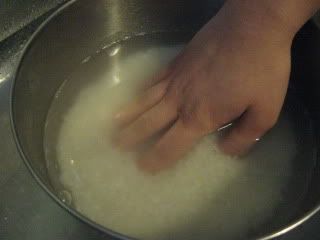
Until the water is almost clear.
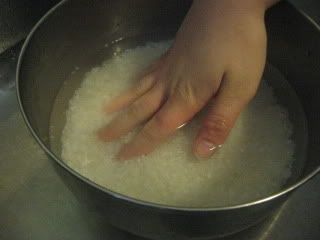
When the water is almost clear, drain the rice and let it rest in a colander or sieve for 30 minutes.
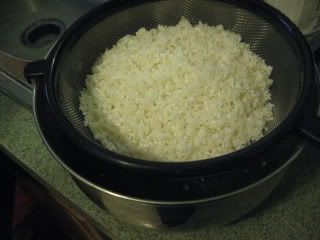
Tawny was totally not happy she had cold wet hands.

Then put the rice in the rice cooker.
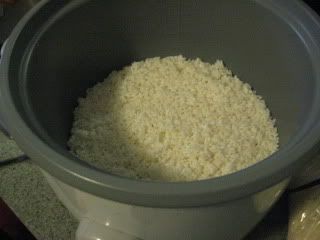
Add the 3 1/4 cups of water.
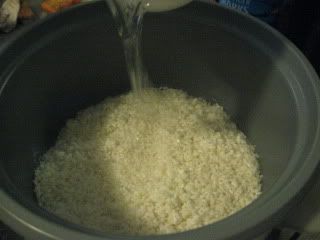
Let it soak for 30 minutes.
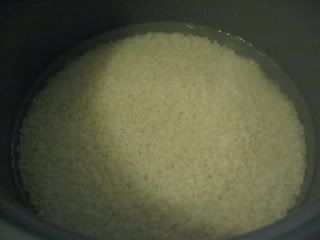
Cover and press cook.
If you don't have a rice cooker, at that point cook the rice according the directions on the stove.
Now for the vinegar.
Mix vinegar, sugar and salt over low heat until salt and sugar are dissolved.
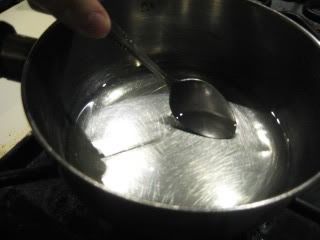
Cool the vinegar mixture.
Ding! Rice is done. Ok... my rice cooker doesn't ding. But I did hear the button pop up.
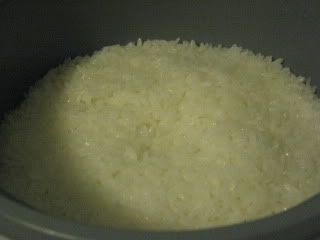
Spread the hot steamed rice in a large bowl.
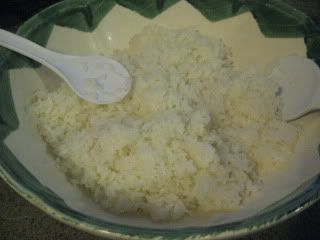
Really spread it out.
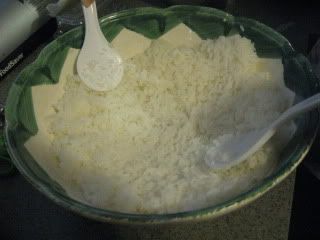
Sprinkle the vinegar mixture over the rice.
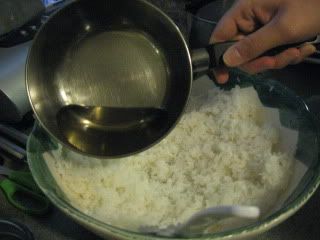
Gently fold and fan the rice to cool the mixture.
This takes a while...
But then you have shiny sushi rice!
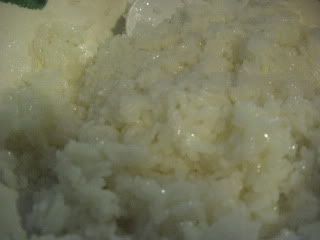
Ready to roll! Get it? Roll? Sushi Roll? Ok sorry. That was bad.
Ok... Ready to roll!!
Gather and prepare your sushi ingredients. The rice is ready!
Tawny opted to make California Rolls, Maguro Nigiri (tuna), and Spicy Tuna Rolls. There might also be some veggie rolls in there. I can't really remember or tell from the pictures. She did this back in December!
Prep all of your sushi fillings.
Tawny used avocado, cucumber, crab sticks, ahi tuna, flying fish roe (tobiko), sesame seeds, mayo, hot sauce. Oh! And you need nori (dried seaweed) for the rolls.
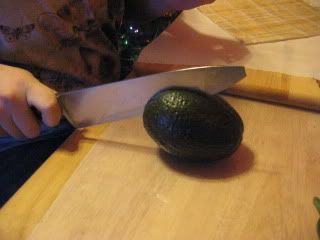

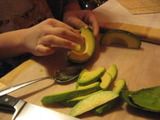
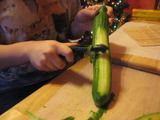
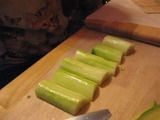
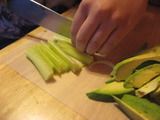
You'll also need a bowl of cold water, a sushi mat and some plastic wrap.
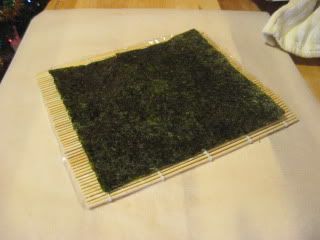
Lay out the sushi mat and cover with a piece of plastic wrap.
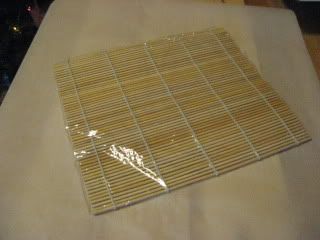
Place a piece of nori on the plastic wrap.
Dip your hands in the bowl of water, then pick up some sushi rice with your wet hands.
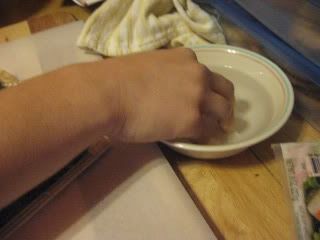
This will keep the rice from sticking to your hands. It's VERY sticky!
Cover the nori with a layer of sushi rice and press it down.
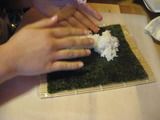
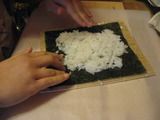
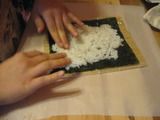
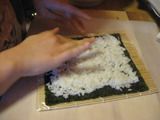
Sprinkle with sesame seeds.
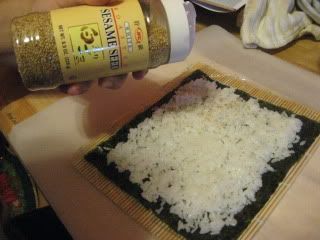
And tobiko (flying fish roe)
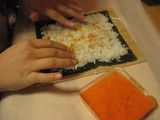
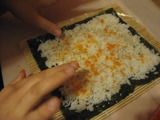
Now flip it over, so the rice side is down.
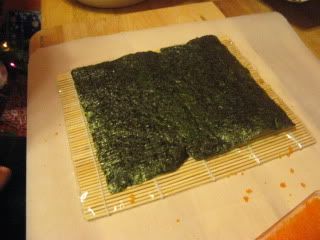
The sushi rice is very sticky and everything stays put pretty well.
Now add your fillings.
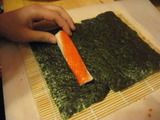
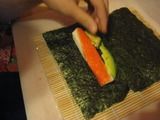
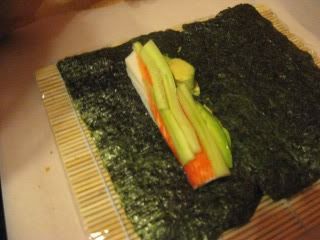
Now you're ready to roll!
Slowly roll and squeeze the mat, to make everything hold together like a sushi roll.
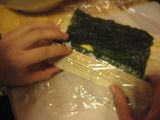
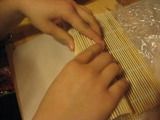
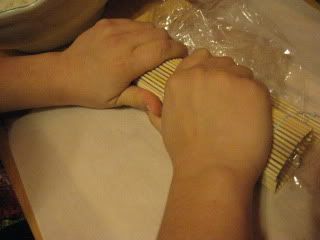
Voila!
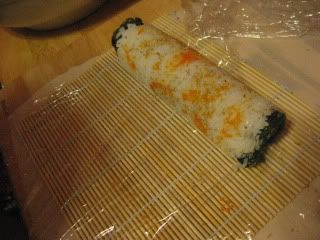
Not too shabby for a first time?!
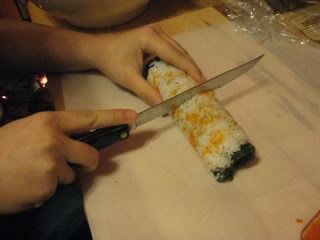
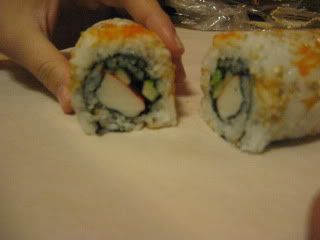
Next onto the Maguro Nigiri.
Nigiri is a kind of egg shaped ball of sushi rice topped with a slice of raw fish.
WAY easy to make than a roll!!
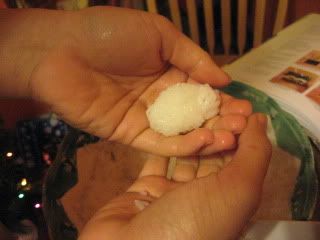
Slice your beautiful very fresh raw fish.
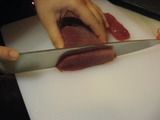
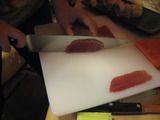
Place slice of tuna on top of sushi rice ball.
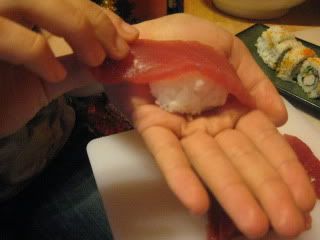
Garnish with some pickled ginger & wasabi.

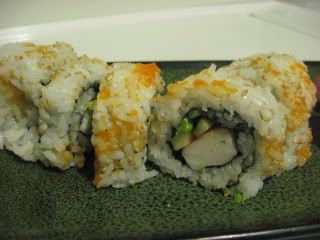
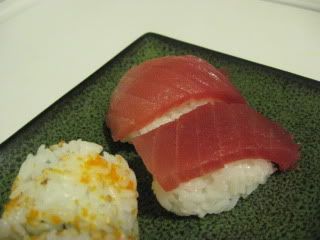
By the time Tawny got this far... she was really ready to be done. So I helped her and we rolled up the rest.
We made some spicy mayo by squirting some Sriracha hot sauce into a little mayo. Then we mixed that with some minced tuna to make a spicy tuna roll.
They're the orange ones in the front corner. We also changed it up a little so it had nori on the outside and rice on the inside.
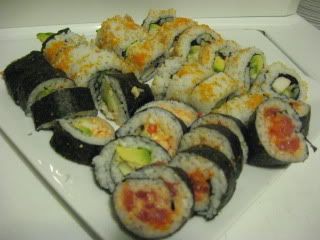
A couple different views of the same platter, to give you a better look at the variety we made.
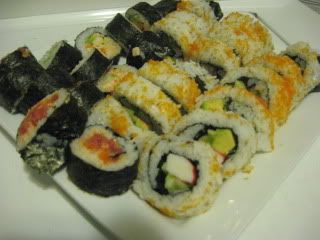
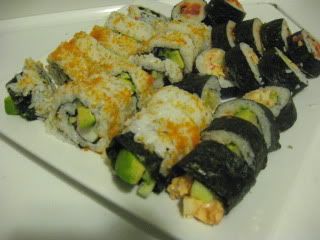

Making sushi was definitely a lot of work! But it was so good!! And really it's so much cheaper to make it at home! With a little practice, I'm sure it gets so much easier!
Don't be afraid to make your own sushi at home!


6 comments:
Looks real pro from here..that rice looks perfect!..I know you like spicy stuff..If you can get it they make wasabi marinated tobiko that turns it bright green and its good.
Look at you two go! That sushi looks like the pros did it. I love the stuff; now you've got me craving it. Nice work!
Thanks for stopping by my blog. It's so nice to meet you!
Can we just talk about how cute Tawny is? Her expressions are priceless! And the sushi looks awesome. Great job!
What a fun thing to do with your daughter, who I agree is very cute. I am not a big fan of sushi, I have only ever eaten the California roll, but yours look very good.
Yum! Great job! It looks delicious. Tawny is a cutie!
The photos with Tawny made me laugh. Great post about your sushi making experience.
Post a Comment