Here's a step-by-step for prepping your actual real pumpkins to make mashed pumpkin for delicious baked treats!
First... start off with pie pumpkins also called sugar pumpkins... not the big jack-o-lantern pumpkins. These are much smaller.
You need wash them of course.

Then you need to cut them in half. If you've ever carved a pumpkin for Halloween, you know this is not always easy. Trust me, it's worth the work (and don't be afraid to break out the power tools if you need to!)

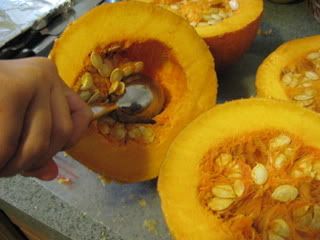
Scoop out the pulp and seeds. I use my ice cream scooper, it's scoopy and has a serrated tip.

You could save all the seeds for roasting... but to me, that IS too much work... cleaning all of those seeds... and I don't really like pumpkin seeds anyway!
Ok.... all scooped out.

Now put them cut side down on foil lined cookie trays. I use trays with edges, so the pumpkin doesn't leak into the oven. I don't like the sound of the smoke detector.

Now pop them into a 350F degree oven for about an hour or until they are fork tender.
Let them cool on the trays.

Some of the edges might be a little caramelized, that's ok.

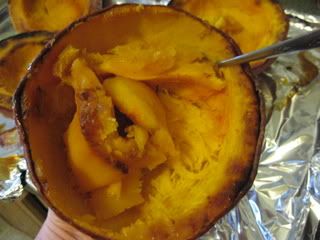
Scoop the cooked pumpkin out of the skin. Sometimes the skin lifts right off.


Look at that! Perfect little pumpkin bowls! Now if I was trying for perfect little pumpkin bowls to use for funky cool pumpkin serving bowls, they would have broken into a zillion pieces. Oh well... pumpkin bowls to the trash... Too bad I wasn't having company for dinner that night.


Now just mash the pumpkin.

It's ready for your recipes now!

If you're not ready to bake right now, just put it into the fridge or separate this into recipe sized portions and freeze it.
Let the fall baking begin!!!

No comments:
Post a Comment
I LOVE feedback and read all of your comments.
Thanks so much for taking the time to check out my blog!